Prusa Mini+ - The best little 3D printer
May 01, 2021
Overview
I have been thinking of picking up a 3D printer for the past year or so. I have been following the Prusa printers for some time and heard nothing but good things about them. That being the case, I finally decided to jump in and purchased a Mini+ kit back in December 2020. It took quite a while for it to ship (which I knew upfront). I finally received it, finished the assembly, and have been able to test it out for a few days.
Assembly
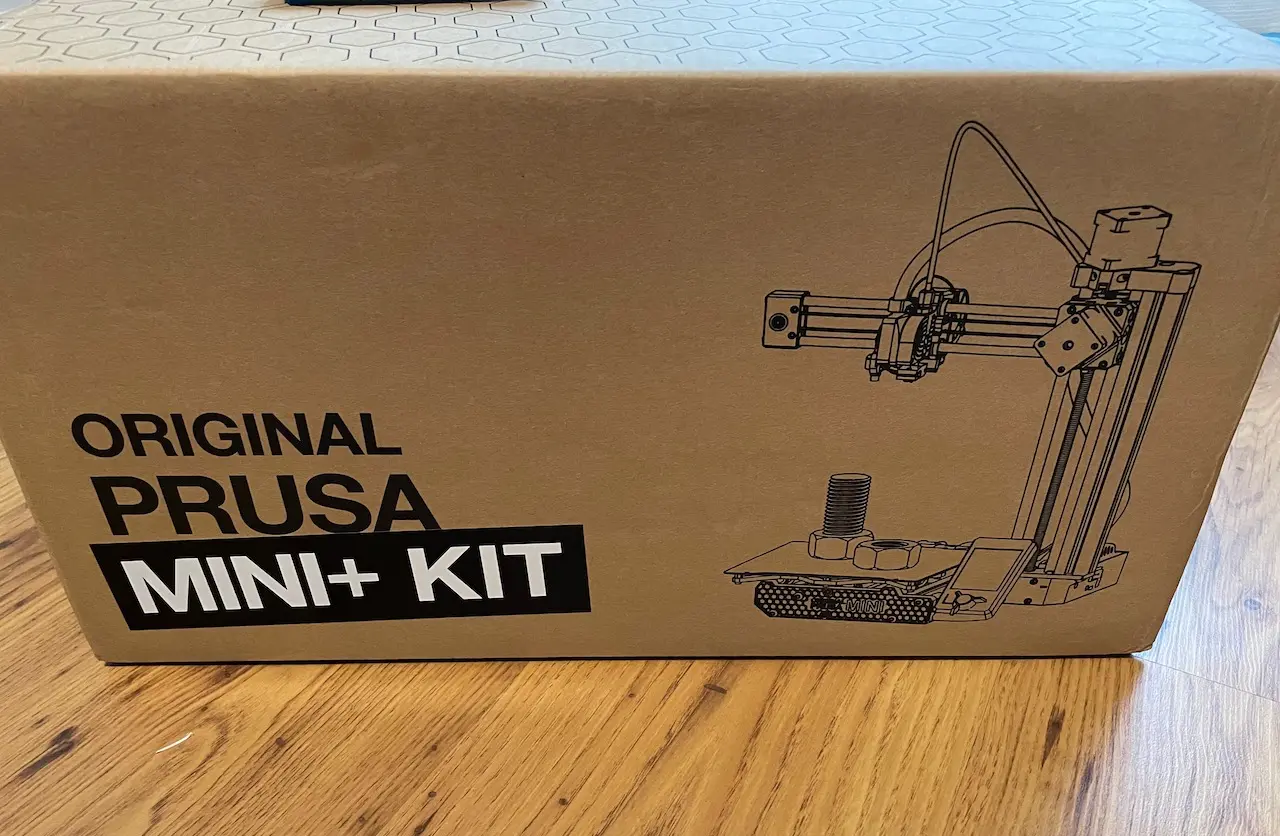
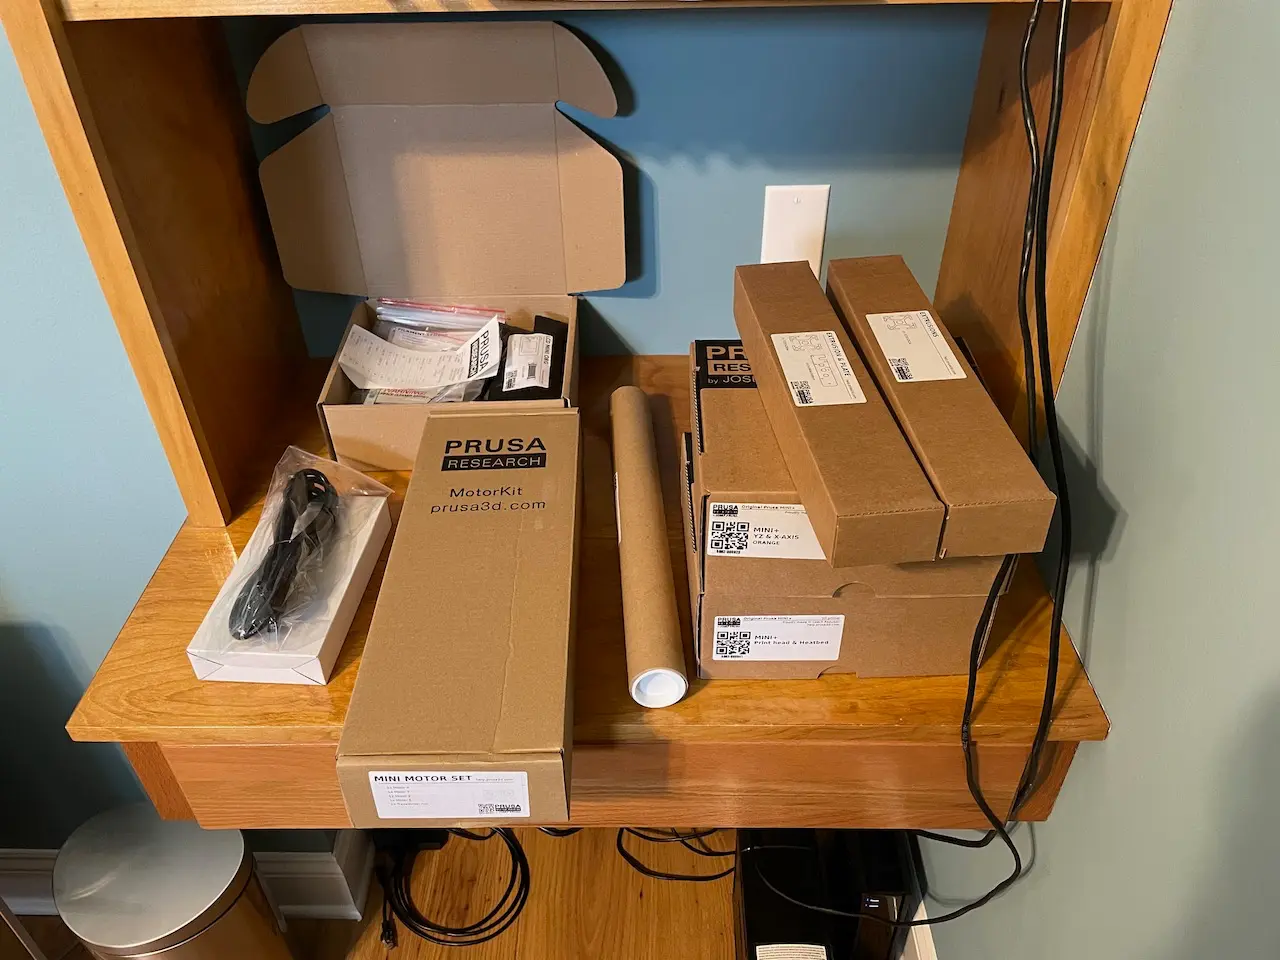
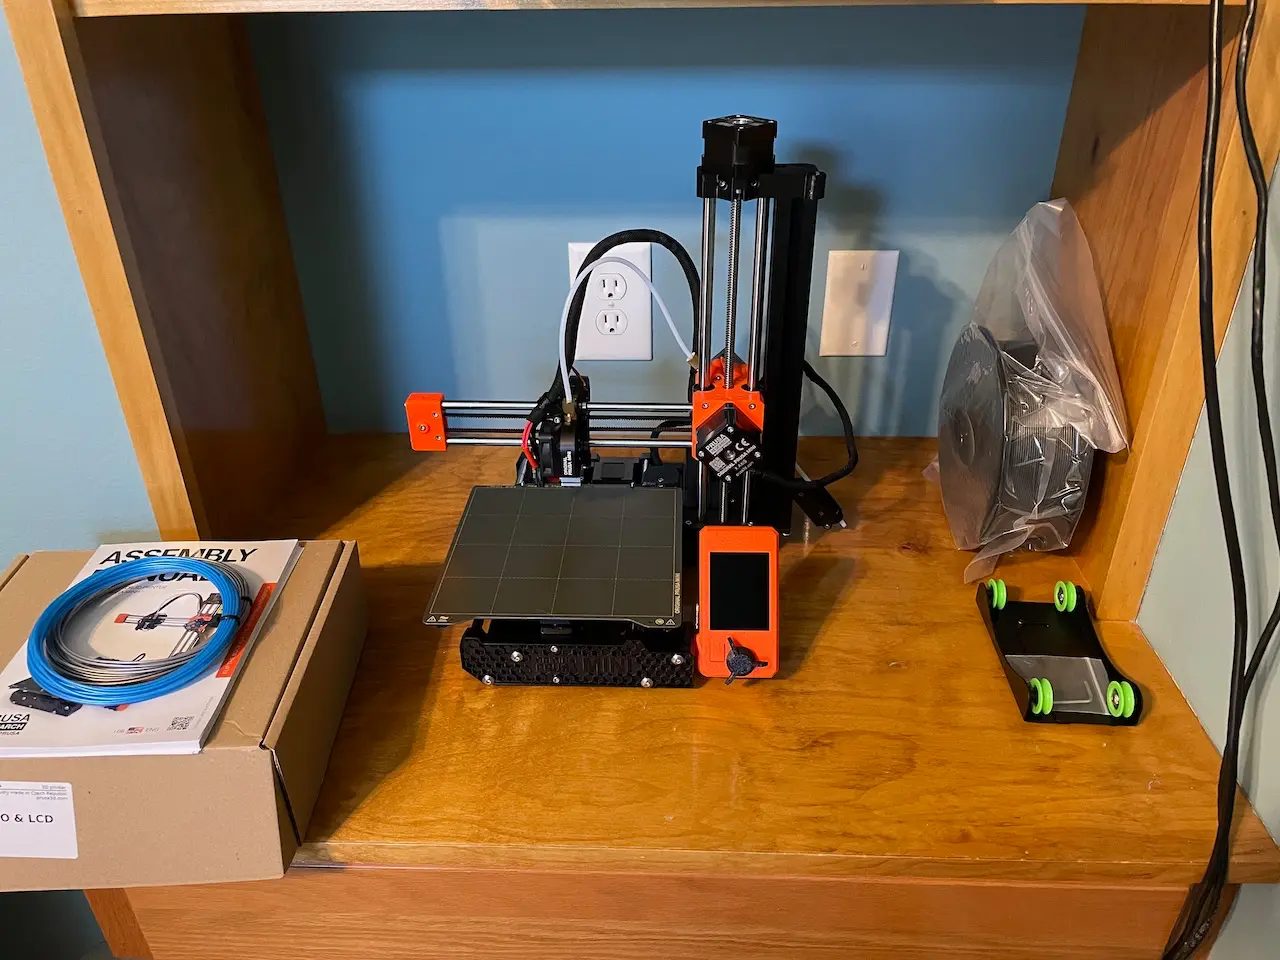
I purchased the kit version, so assembly was required. If you’re not iup for building your printer, an additional $50 will get you the preassembled version. The assembly process was very well documented and easy, but it does take some time. I personally like building things, so I enjoyed putting the printer together and gaining a better understanding of how it all works. Just be sure not to over tighten the fasteners. I may have put a little to much grease in the bearings, so I had to remove some of the excess grease that had built up on the rods after a few prints. The filament sensor is an option that I chose to get. The main benefit of the sensor is to prevent ruining a print if you run out of filament before the print finishes. Overall, the assembly was painless, and that is the route I would recommend. One last note. Before you start printing, be sure to check that the printer firmware is up-to-date. New features are being added constantly, so this is something you’ll want to check on a regular basis.
Calibration
Before starting to print, you must perform a first layer calibration. This is also required if you switch between the smooth/textured/satin steel print bed sheets. This is a very critical step and is directly related to the print quality you will be able to achieve. The process is laid out fairly well in the 3D Printing Handbook that is included with the printer. After setting the PINDA sensor using the zip tie thickness as described during assembly, my Z height for the smooth sheet was -1.258. Yours will be different, but I wanted to provide a reference point. The latest firmware version actually lets you save the Z height after calibration to create profiles for your different types of steel sheets.
Printing
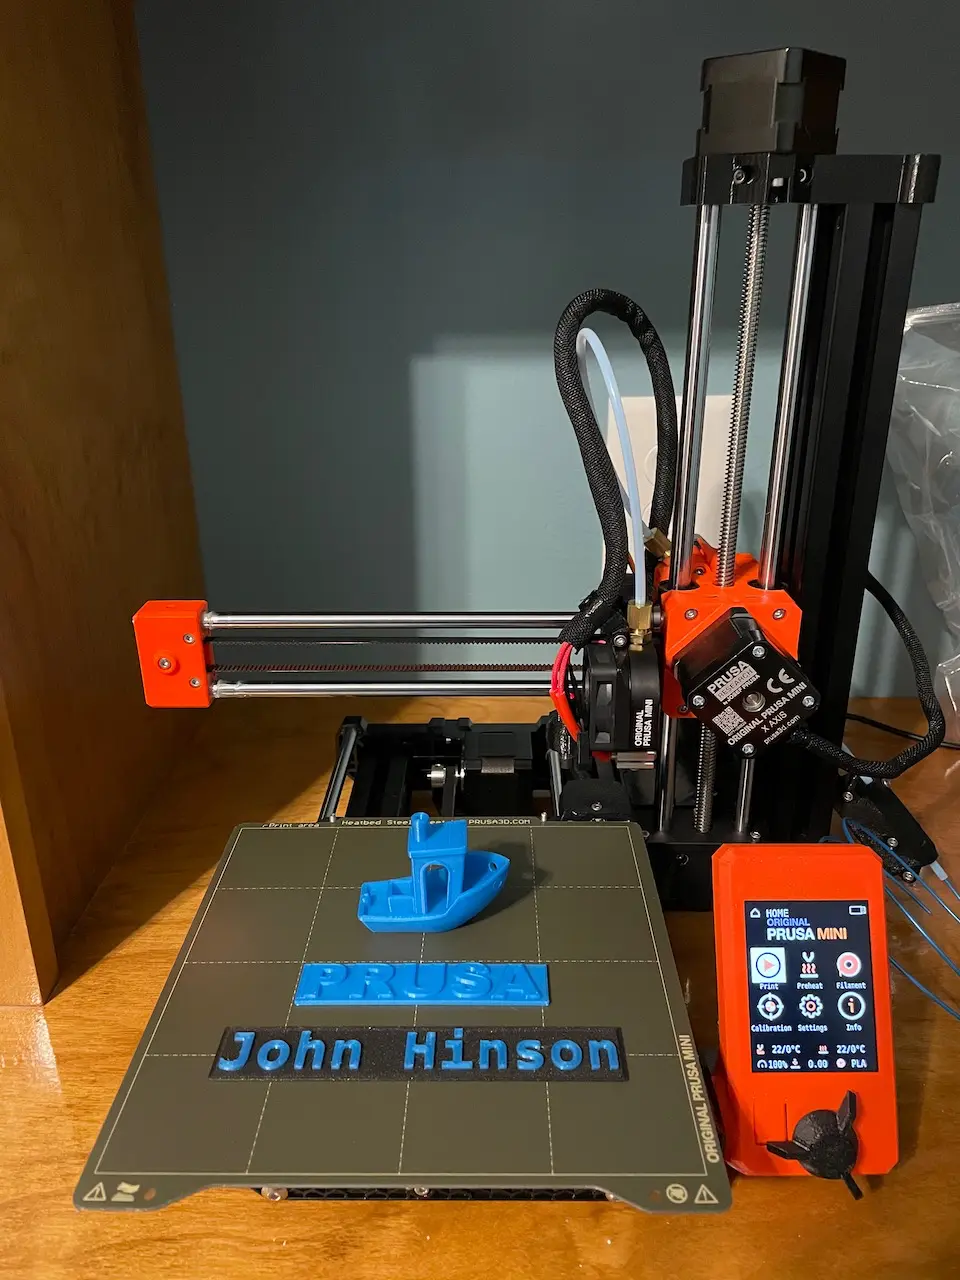
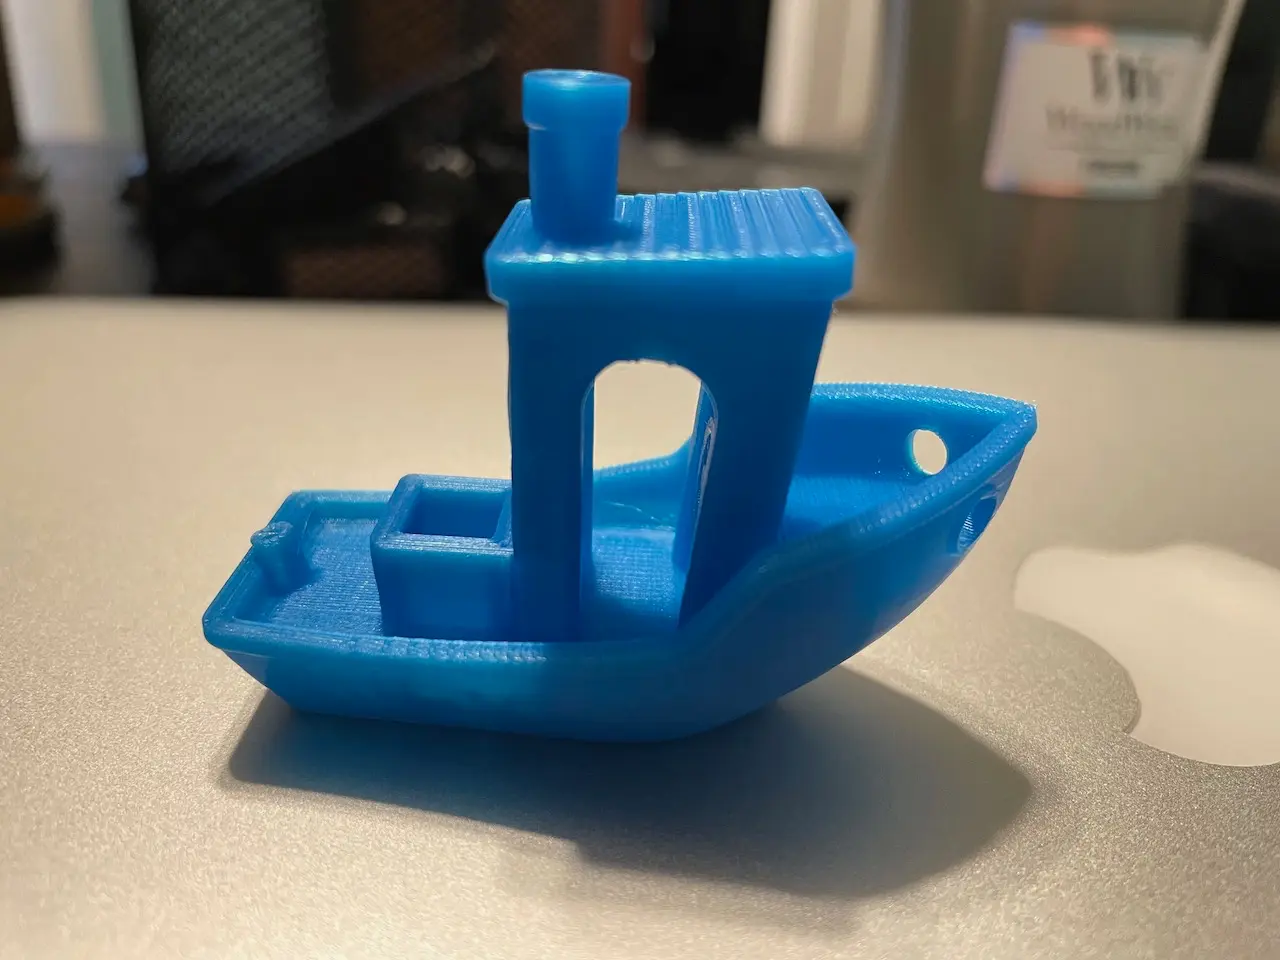
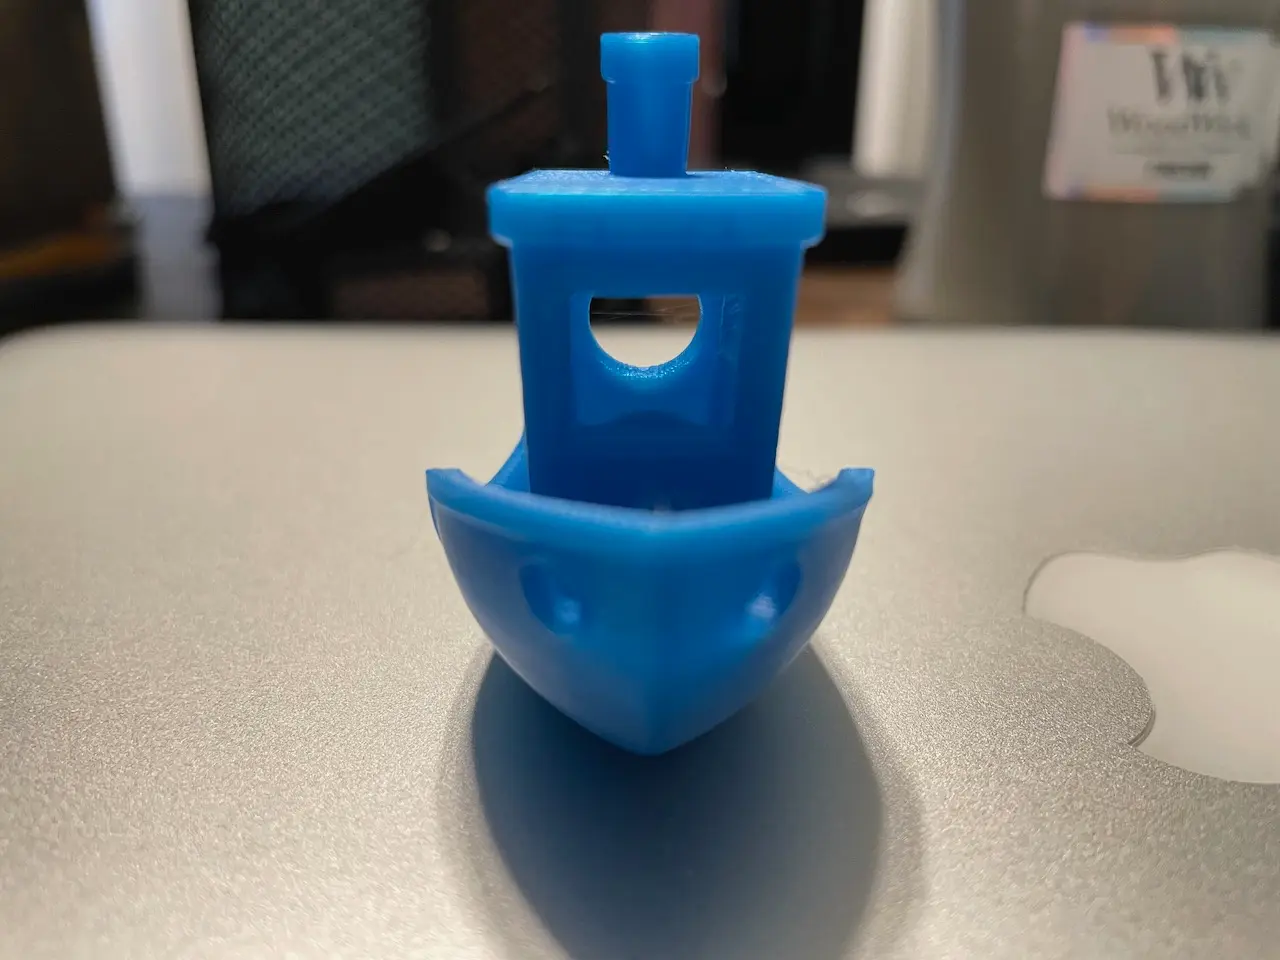
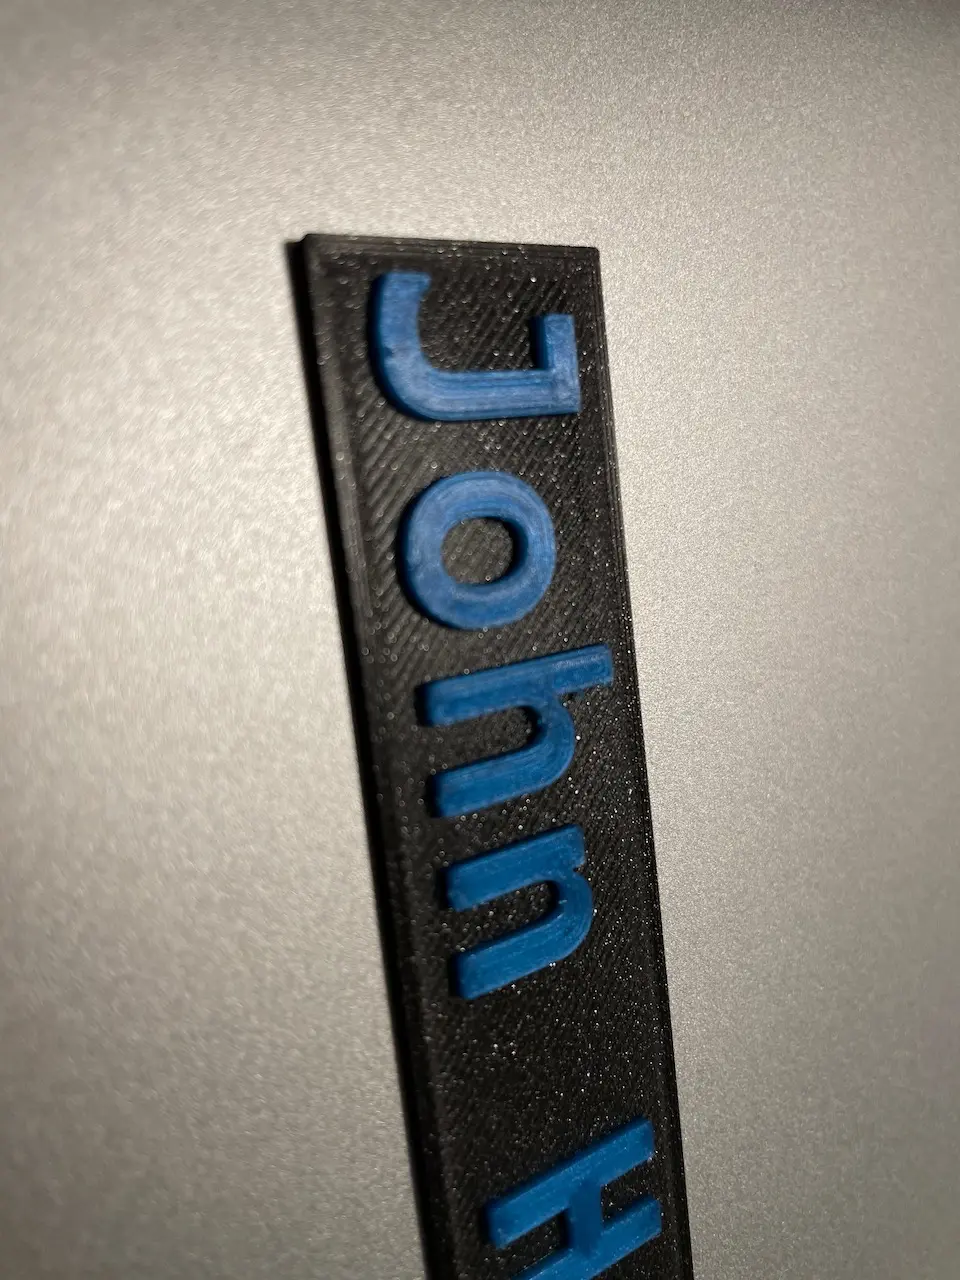
Printing on the Mini+ couldn’t be easier. Especially when using the PrusaSlicer software and Prusament filament. The USB key that comes with the printer contains a few sample models that can be printed immediately. I tested out the whistle (fully functioning) and the 3D “benchy” boat. The boat turned out surprisingly well with no noticeable issues. I was using the included sample Prusament filament. I have also printed several 3D models that I found on Thingiverse. Using the PrusaSlicer software to generate gcode is very simple. I won’t go through the details in this post, but it has built in profiles for several different brands of printers and filament. I simply picked the Mini+ printer profile and Prusament filament profile. The only other changes I’ve made have been to change the infill percentage or adding a color change for testing dual color prints. I will say that dual color prints seem to work very well also. I’ve tested it out a few times so far, but it has worked flawlessly every time.
Conclusion
I don’t believe there is a better 3D printer on the market anywhere near this price point. Granted, I do not have a lot of 3D printing experience, but I just don’t see any issues with this printer. The community appears to be very active and updates to the firmware and PrusaSlicer software seem to be on a regular schedule. Even the filament they produce seems to be well made, and the cost (even with shipping) is not unreasonable. I’m looking forward to finding many ways to put this printer to use. Hopefully this will give me some motivation to finish my dehumidifier controller project so I can design a custom enclosure.